Tuesday, September 27, 2011

Brutalist Tempestini lamp, new Heywood Wakefield and othe MCM things


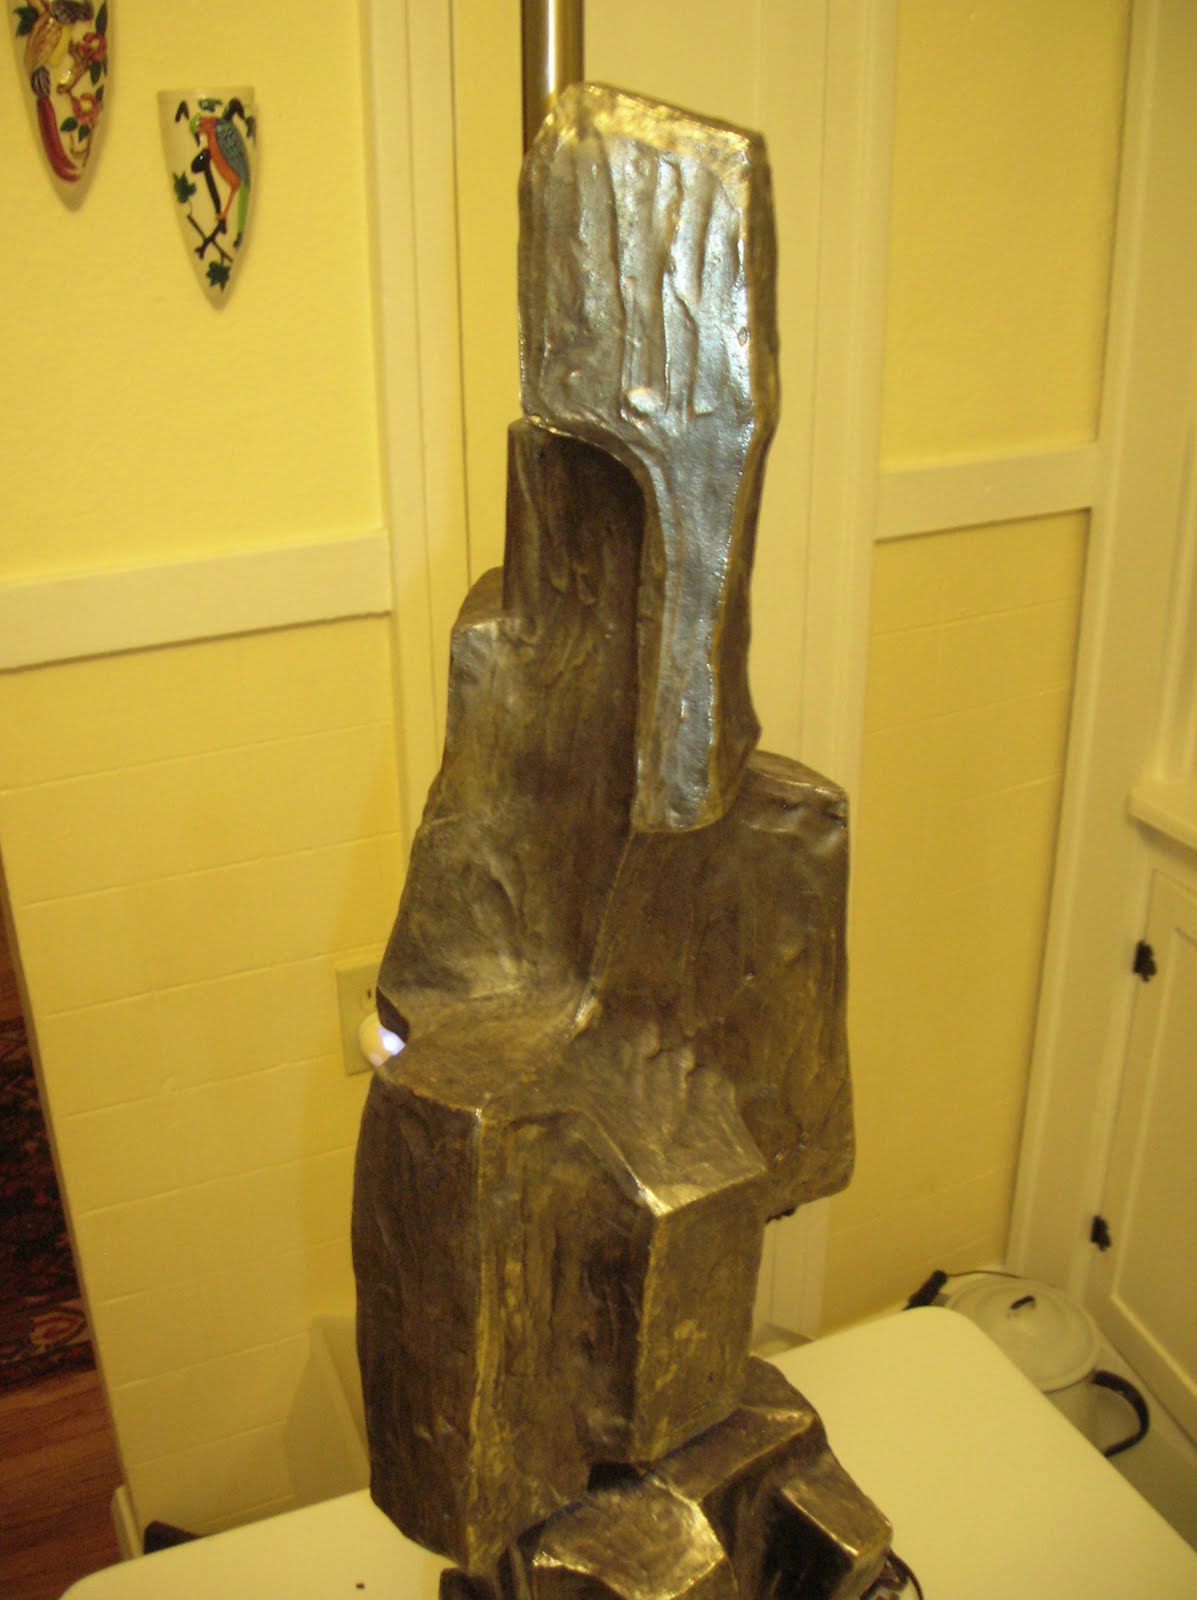
I never received any information or suggestions regarding what shade would be original / appropriate for the Tempestini lamp in the earlier post and after having searched everywhere and trying a variety of colors and styles finally settled on a vintage 60's shade that seems to compliment the light. Not what I had originally pictured but looks pretty good. I'd pictued something darker with a geometric shape but couldn't find anything close and at least this doesn't detract from the beauty of the lamp. Still a very nice pick for someone special!

I've got plenty of refinishing backing up but I'm currently working on a Heywood Wakefield M166G double drop leaf dining / console table. This table has an X pattern gate leg support for the drop leaves and is a really nice versatile table. This table has no center leaf and folds down to a small console or works great as a nice small dining table.


Obviouly not in the best condition but definetely salvagable. Major finish wear and water rings and finish darkening around the bottom of the legs but should all sand out. Already broken down and ready to work on, I should have up and running in "wheat" in the next couple of weeks and available at our store soon thereafter. I already have some finished bowtie chairs in wheat finish to compliment this table and looking forward to getting in house.  


Also in the next round of upcoming refinishing projects is this very nice 1546 china deck atop a 1542 china base with a tambour door This is a smaller option to a full size piece and would work great with the table and chairs. The original finish is wheat and I plan on doing back the same. All original except the shelf pins. Hopefully I can find some in my stash to replace.
All these pieces can eventually be found her at our retail location Kaleidoscope for the home here in Tampa, Fl.
Full address is 6415 N. Florida Ave. Tampa, Fl 33604 and you can feel free to give us a call at 813-234-5800. If you are a member of the Facebook croud please take a look and like us for upcoming items into our store at http://www.facebook.com/#!/pages/Kaleidoscope-For-The-Home/145358748853375

If you get a chance to stop by the store make sure you check our book backlog of H/W still awaiting refinishing along with some other great finds that haven't made it on our sales floor.
Thanks for taking a look!!

Tuesday, August 30, 2011

Maurizio Tempestini brass brutalist style lamp for Laurel lighting

To be perfectly frank I was not educated in the Brutalist syle of the 50's and 60's. That's the great thing about the vintage and collectables trade, it's a never ending learning curve. I'm not a newbie to the trade as my lovely wife has been in business for many years and I've already assimilated so much from her, but this one was a new one for me personally. A consignor to our store brought in a lamp they described as pretty ugly for their personal taste although I as a guy I loved this lamp. As it turns out I purchased the lamp and my consignor actually forwarded me the credentials (many thanks Marty!) which they had run across in doing their own research. Here are some pics...The base looks like cast pewter painted black and the body seems to be brass formed in two pieces. The only steel in the piece is the circular support plate inside the light. Except for the wiring it appears to be in perfect vintage condition although it's missing the bottom felt or whatever the original bottom surface was constructed of.

As it turns out this particular lamp was designed by Maurizio Tempestini for Laurel Lighting. Some of the dates for manufacture I've seen state the 70's but the Italian interior designer passed away in 1960 so I'm guessing this was late 50's or early 60 unless it was produced after his death. It came sans a shade and the harp is new although the wiring is frayed and appears to be original. I have yet to see a lamp intact with its original shade although one just sold on Ebay without a shade for about $500 and I've seen listed for up to $1600 in the high end market. If anyone has any documentation on what the original shade was please give me a heads up! I would love to put out on our floor for sale at Kaleidoscope or maybe just keep for myself but want to give it a complimentary head dressing! Not that this piece really needs it as it's a piece of art as it stands. Shoot me an e-mail or post here ont the blog if you have any ideas.
Thanks for checking in!
A Modern Line
amodernline@gmail.com

Friday, July 29, 2011

Nightstand number two and other fun stuff

Well my client was very pleased with their first nightstand and brought in the second one. I thought the first one was a challenge. Boy was I kidding myself. If possible the second one looked even worse than the first one and appeared to have been used as a candle holder. Lots of wax and some major burns in the top.


I obviously couldn't make any promises with this one..

That said I used the same techniques as the first and even I was suprised by how well it turned out. Client is supposed to be by tomorrow and I would say they will probably not recognize this one either.

Not perfect but managed to get the burns down to a shadow of what they were originally.

While I was working on the nightstand I was also busy refinishing some nice vintage Thonet bentwood chairs that a friend of mine was kind enough to swap for some seat recovery work. These were fun as it was the first time working on these chairs. Very well made and reasonably easy to disassemble to work on.


I used the same wheat finish that I used on the nightstand but with only two coats to replicate the process I used in refinishing a Heywood Wakefield Ashcraft dinette table a while back. I recovered the seats in a nice vintage barkcloth fabric that goes great with period and feel of the pieces. They make a great match for the table and I now have up for sale at Kaleidoscope.


If you need to have some of your pieces refinished please feel free to contact me or stop by  Kaleidoscope @ 6415 N. Florida Ave. here in Tampa, Fl 33604 813-234-5800.  We're open Tuesday, Wednesday, Friday and Saturday from 11-6. 11-8 on Thursday and 11-4 on Sunday.
We have a bunch more midcentury and designer items for your consideration. I'm usually in the store on Tuesdays, Fridays and Saturdays or shoot me and e-mail if you have any questions @ amodernline@gmail.com.
Thanks for taking a look. Try to be a bit more regular about posting for those of you interested In MCM in general and Heywood Wakefield specifically.

Saturday, July 16, 2011

Final episode of the Heywood Wakefield M148 night stand refinishing

Originally I intended to run this project over the course of 3 posts but found I didn't have time so here is the conclusion to our refinishing job. When we left our subject we had finished sanding and were ready to start putting down the first of 4 coats of finish. Before putting down the first coat you need to get as much dust and debris off the pieces as possible and clean up the work area. I have a rather large volumne compressor with a blow gun attachment that works well. A lot of people have suggested tack clothes but I don't want to chance contaminating the surface with any substance on the cloth. The toned varnish is applied with a clean white lint free cotton rag.


Here's how we look after the first coat.

The first coat basically seals the wood and should be applied liberally but you don't want to leave any heavy spots you'll have to deal with later. After this is completely dry we break out the 0000 steel wool and go over all the pieces thoroughly to get any imperfections and debris off the surface. It's fine to be rough with the steel wool this go round as it's going to get 3 more coats and you want to be a bit anal about getting everything smoothed out between each coat. This is a lot of work after the first coat but gets much easier with each application. Time for next coat...

Starting to make progress!
Again we will go over each piece with the steel wool however this time it will be easier with less imperfections to smooth out. You still need to be careful as you don't want to seal any trash between the finishes.


After 3 coats you will have a pretty good idea of what your piece is going to look like. The finish is building up nicely and has a nice even sheen and the color is really popping. One more coat and were done with this stage. If you want less grain to show through the finish you can add more coats. I find 4 coats to look great with just the right amount of grain showing.


 Time for reassembly!
When you take a piece apart you would normally start from the bottom and work your way up through the piece. We reverse the process reassembling being careful to use the same screws in the same areas. I marked all the hardware when I disassembled so this won't be a problem. Here's our empress fully clothed and put back together


No, it's not magic, just a passion to make it beautiful again.
Although I couldn't make this piece as perfect as I would have liked it still turned out great and I'm sure my client is going to love it.
If you want to see some of the pieces I have refinished in person stop by our store Kaleidoscope at 6415 N. Florida Ave. here in Tampa 33604 in lovely and freindly Seminole Heights. We are open everyday but Monday. You can also keep tabs on us on our Facebook page for new items and special deals.
Thanks for following along. Please feel free to contact me with any questions or just post a comment on this blog.
A Modern Line

Friday, July 8, 2011

Anatomy of a Heywood Wakefield Kohinoor M148 nightstand refinishing

A funny thing happened the other day, this guy walks into a bar...
Oops...Sorry,that's another story.
This is actually a true documentary with some pics about a recent/ongoing project. A customer of ours was interested in selling a H/W bed and although she decided to keep the bed, she had a couple of things to refinsh. This is a synopsis of the refinishing of the first of two nightstands. It's a Kohinoor M148 which were made from '48-51'. I've been refinishing H/W for about the last 9-10 years and although there are people out there that have been collecting and selling longer, I think I've seen I think almost every condition that it can be seen. At this point I have refinished hundreds of pieces of mine as well as many pieces for other clients. If you have an interest in buying and refinishing H/W you are welcome to follow along...
I have no idea what my client paid for this piece but if I saw it in a yard sale in the condition it's in, I might  go $20 max. It's in realy rough shape. Scale of 1-10 I'd probably give it a 3.
Now let the fun begin....
First we are going to disassemble...


This nightstand does not appear to have been refinished. It was originally champagne but the client would prefer in wheat. Not a problem as this baby is going back down to her birthday suit anyway. The piece has a couple of major flaws. There are divots in the front of the drawer pull that are either factory fills, which I doubt, or are holes that someone has used wood putty to fill, although long ago. There are also heavy stains on the right side facing on the top. I would guess to be either an oil or ink of some kind. These are the kind of flaws to watch out for when considering buying a piece. Not the ideal candidate but I've worked on worse pieces! I've found that a lot of cabinets don't need to be completely dissaembled, however, if there is a back panel that needs to be done or an interior space, it's easier to take it all down as it was in the case of this particular piece.

Not a bunch of fun to take down but will be worth it in the longer term..

Now that we have the patient in pieces and laid out it's time to break out the sander. I don't use chemical strippers. You are going to have to sand these pieces in the long run anyway and it's messy, expensive, and environmentally a non-starter. That said, you need to be careful of what grit paper you use and where it's most efficient. Large flat surfaces are ideal for a 60 grit start. You can cut to the chase, so to speak, and not make any structural changes. The last thing you want to do is take away the beautiful and graceful lines that make this furniture desirable. However major blemishes are more quickly and easily worked out with a lower grit paper. I use 150 in the second stage and work over the same areas and more towards the slightly more delicate spots taking care not to "reshape" the existing lines. I finish with a 220 for the balance also taking great pains not to change the lines in the pieces.
Here's our subject first after the first go round and again ready to start putting down it's new "clothes".


Here's how we look after the first sand.

Dark stain is obvious on top left corner of top piece. This is deep in the wood and will not sand out. Divots in the drawer pull smoothed out and shouldn't look too bad after refinish but will likely show a bit but not enough to detract from the overall job. Trying to rectify is likely to make matters worse than better. Just hoping the toner in the finish will knock down enough it won't be too noticable.
I've determined the top is a good candidate to try some wood bleach as this stain needs to be at least lightened as best as possible and there are enough other questionable areas that could stand some lightening as well. Although the results were less than perfect I did manage to lighten the stain appreciably and it helped with the rest of the dark areas of the top as well.


Looking much better but sometimes you can only do so much!

Have to wrap up this particular post for now. It's time to layout our pieces and get ready to apply our empresses new "clothes". I doubt her owner will recognize this piece as the one they brought to me a couple of weeks ago. Stay tuned if you feel so inclined as I will be continuing the final processes and posting of the work with more pics of our lady totally done.
For those of you who follow this blog and may have tried to post before, I apologize as a friend of mine made me aware that her posts would not take. I've changed my settings and now anyone interested may post any comments, after review, and please feel free to contact me with any questions at amoderline@gmail.com.  Thanks for taking a look!


Tuesday, June 14, 2011

In house now! Wendell Castle designed molar furniture plus a new sectional and stereo

I've been busy working on a couple of new pieces to compliment our in house 306 revolving cocktail as someone had the audacity to take home the currently refinsihed end tables without their matching cocktail. New corner table and 308 end table coming soon for those of you that are seeking a whole set. We have our Wendell Castle molar set on the floor for you to see up front and personal now. My partner Karen does such a sweet job putting everything together!

Above is a really nice sectional just in house yesterday in really nice vintage condition with a two piece sectional and matching corner table. You have to see to really appreciate! You know where to find us and we'd be happy to help you out with all your design or MCM needs. Give us a call @ 813-234-5800 for more info or hours. We have a lot more MCM and other great stuff waiting in the wings...
Hope to work on more Heywood Wakefield refinishing tips and pics soon. Please contact me if you have an interest in refinishing H/W furniture or have a need for advise...
Thanks for checking in. You can like us on Kaleidoscope for the home on Facebook for up to date incoming furniture, lighting, decor and lots of other MCM and designer items... Thanks for taking a peek...

Saturday, June 11, 2011

Really rare and very cool Wendell Castle designed molar chairs incoming at Kaleidoscope

Even though we specialize in Heywood Wakefield, I have to share a great new find coming into Kaleidoscope for the home, our retail location. We have consigned a very rare find of some 1969 Wendell Castle designed molar chairs and a sofa. Biomorphic design as a back tooth, I cannot find these chairs anywhere on the auction sites for sale. Very nice vintage condition and we have priced to give to a loving new home.


Unfortunately I have had to postpone refinsihing classes for the forseeable future for lack of space to conduct classes. Hope to get back up and running on that front ASAP as I know there is still a lot of interest out there for them.
We also have a newly refinished Heywood Wakefield china, table and chairs in house for your consideration. A M590 server base topped with a M175 china hutch and 4 M953 side chairs all in wheat finish.Nice small set with the double wishbone drop leaf table and the smaller Encore china. Great for homes with smaller spaces. I will try and put up some pics but you can come by Kaleidoscope @ 6415 N. Florida Ave. Tampa, Fl 33604 813-234-5800 to see in person.
Thanks for taking a look at the blog. Hope to be posting more regularly in the future about more MCM and Heywood Wakefield finds and information...