Wednesday, January 28, 2015

Dux all in a row and out for sale! Swedish dining set part 2!

I have to say upfront I was a bit apprehensive about whether or not I could do justice to this rehab project. This is likely one of the most high end and well constructed pieces of furniture I've had the pleasure to work on and this really needed to be done right. I suppose you readers can be my first judges!
I started with the backs as I knew these were going to be the toughest part of the project. I personally prefer to take on what I know are going to be the most challenging part of any project and hopefully it all becomes easier after that.


The first one turned out pretty well and after a test installation I had to tweak a few minor things but overall I think I pretty much nailed the rest. For the record, I always label all the pieces of a deconstruction to make sure every piece gets put back together exactly how it came apart. Actual people assembled these, not machines and they should all be treated as individual constructions.
Backs finally done and now on to the seats. I knew that I was cutting it close on the fabric and I literally had just enough and less than I would have liked. In laying out the seats I had to be very careful to make sure every cut would work. An inch one way or another would been a huge problem.
Here's the start:


The original seats on the side chairs were about an inch a half thick and although I could have my upholstery wholesaler order custom thickness I went with stacking another half inch with a bit of overlap to round out the seat edges and still give the same feel and comfort.


The blue 1 inch foam is of the high density type that has less give when compressed and makes for a more comfortable seat. The white half inch foam adds to the thickness and helps soften the corners for the upholstery and give the same overall thickness..


I've found this Locktite spray adhesive to be pretty effective for multiple projects. Good initial tack and still adjustable if you need to move something before it sets up With stacking the foam I needed it to stay in place for the fabric.

 
 It appears that all the framework was all manufactured in Sweden and then the upholstery work was done in California by union labor. No wonder they looked so good!.I did make a few adjustments as to how these were upholstered by myself as opposed to the original process I think the set turned out pretty swell!
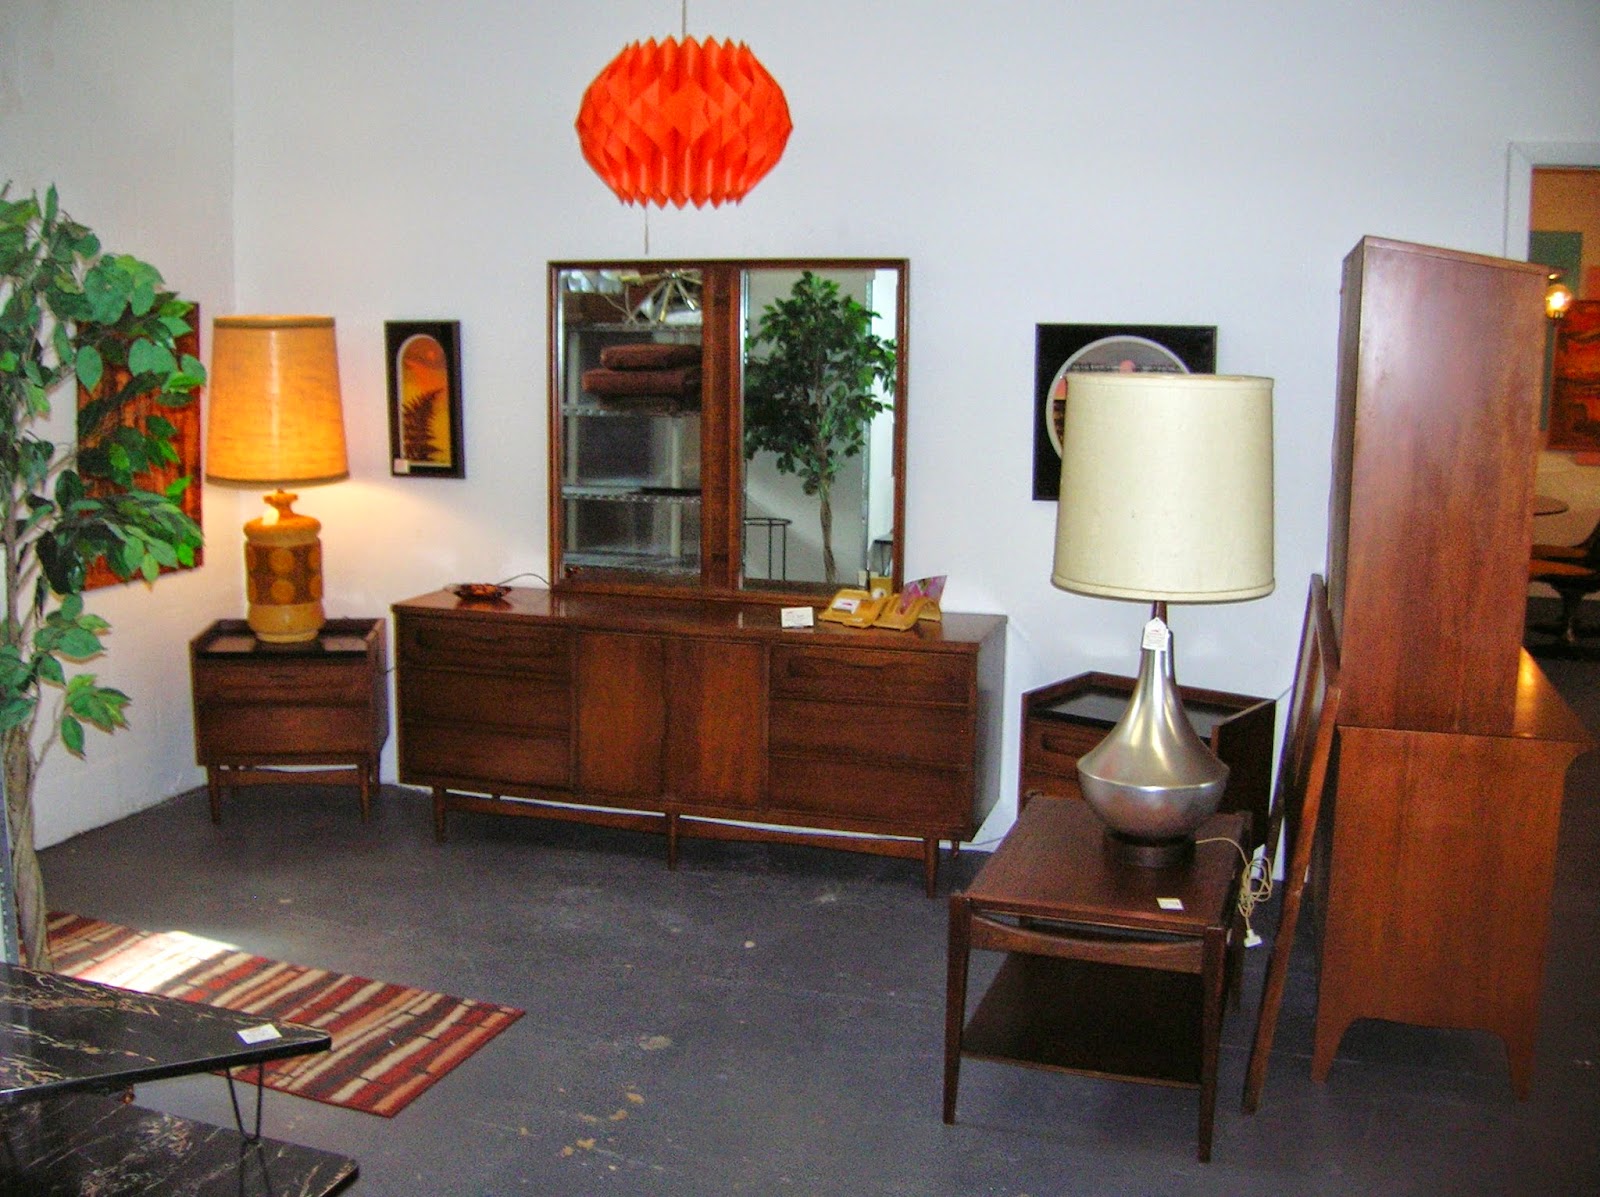
Here are some pics of it in the store for your consideration. This is truly an heirloom dining set that I'm sure someone will appreciate for another 50 plus years!


The table is about 42 wide and 6 feet long without the leaves and will expand to about 108 inches and easily fit all 8 chairs with the leaves in if not 10. Gorgeous and timeless set!
Thanks as always for taking a look and you are welcome to comment or ask questions about the process.
A Modern Line


Wednesday, January 21, 2015

Swedish Dux dining table and chairs save Part one!. Long time gone but back in the "blog" saddle again!

Even though I've been remiss in posting anything new in quite some time, there are somethings that come across my always interesting work space that deserve sharing and this is one of those things.
A good customer of mine had come across what he described as a nice Dux Swedish table and 8 chairs he acquired for a pretty good deal and wondered if I had an interest. Send me some pics and I'll take a look as I have a few customers that are always looking for larger dining sets. Little did I know at the time what I was in for.


In doing some research I would say this is likely a Folke Ohlsson design and looking at the construction is probably from the late 50's. As I couldn't really afford to buy this set set outright from my customer, and I couldn't get anyone to bite for the upfront cost, I convinced him to let me rehab the set and put it in the store and I would make sure he got what he needed out of the set. He was amenable to my offer and off we go!

This particular dining set is all solid walnut construction and although the wood was a bit dry and had the usual latex paint marks over most of the legs all the framed pieces cleaned up pretty nicely with some teak oil and some 0000 steel wool and several hours of elbow grease. Even the table top was pretty pristine considering 60 years of use. This turned out to be the easiest part and the chair frames turned out great!


 The biggest hurdle to rehabbing this set turned out to be the seat and back cushions. Normally not a big deal if you just need to recover and these were thankfully made to take apart pretty easily.
The major problem was these were constructed with the old latex foam which had turned to stone over the years. These would all need to be stripped totally down and redone. Here's where the real fun begins!


Just pull the original fabric and these would just pop apart, right?
Yeah, maybe not so easy. I had to literally scrape every inch of the original foam off all the seats which were at least bent plywood. When I started on the backs I thankfully didn't destroy the original webbing on the first one until I discovered how they were constructed. I can't believe how well made these are and that it looks like I can actually perhaps be able to pull this off!


Everything is prepped and new foam and batting are now in house. I had just enough fabric on hand to do this! Six plus yards and it looks like I can just make it work with little or no room for screwing up! After 20-30 hours I think I'm ready to get the upholstery show going!
My hope is to be able to get this out in the store in the next week if everything falls into place.
I'll be doing a follow up on how the upholstery work is coming along and hopefully the finished set as it turns out in the next post of you have an interest.
As always, thanks for taking a look!


Sunday, August 17, 2014

The Phoenix has risen with a lot of help, and a little about the Lane Acclaim series tables!

Although I haven't posted here in what feels like just about forever at this point, I felt compelled to get some relevant information out to those of you who check in from time to time!
With a ton of help from our local neighborhood we have been up and running now for awhile at out new location at 4632 N. Florida Ave. Tampa, Fl 33603. New location and zip but still in the "hood". We have just a bit more space at just under 2000 sq. ft. with two connected spaces with a more open floor plan so it's a build your own vignette kinda space without being boxed into a segregated room structure!
Here's some pics from a bit ago to give you a feel...


A ton of stuff has already found a happy new home but we have been busy filling it back up with new acquisitions! 

In a case of serendipity I suppose, I had just acquired a Lane Acclaim cocktail and end table from a seller that needed some work and were just sitting at the warehouse when in walks a friend and her niece that after some chitchat advised she had a Lane table and was looking for another end table and cocktail table! As you may have guessed by now, she was looking for the Acclaim suite matching pieces.
Although not high end rare pieces, the Acclaim series is getting a bit more difficult to find, especially the rarer pieces. Occasional tables come around pretty regularly but normally are pretty beat up. They are however savable most of the time. 
The biggest mistake most people make is that they assume these are solid wood tops and they think they can just put a belt sander to these and all will be fine. 
Although the tops appear to be solid wood they are a veneer walnut and oak inlay. The outside edges are solid oak, but if you look carefully you can see the line between the solid border pieces and the inlaid tops.
These pieces, if not previously refinished or otherwise been sanded, are good candidates for a refinish.
The veneer if original is not that thin and if the damage is not too deep these can be saved.
Here's a good example:


The cocktail table had sustained quite a bit of abuse over the years but nothing fatal. The end table really wasn't that bad but had been coated with a urethane finish which may have saved it for the refinish. They needed to match for my customer so I stripped the tops of both and cleaned up the bases with some Howards and some 0000 steel wool and they are ready to go home! I normally strip down to bare wood by just sanding. 80 grit or even 150 if the finish is gone or really dried out and finishing with a 220 grit. I stain with the Minwax Early American stain and let dry completely. Top coat with your choice of lacquer. I like the semi-gloss as it doesn't show scratches and imperfections as the higher gloss finishes do.The Lane factory used a toner on the originals which tended to hide the imperfection as well as the detail in the dovetail. I personally like to see a bit more of the dovetail effect and grain of the wood when I get done with these. You are welcome to comment about your personal opinion about how you might handle these pieces!
Hope to post again on a more regular basis going forward!