Thursday, April 4, 2013

Finally finished the Thonet chairs but with some changes and another Pearsall redo or two!

If anyone has had the fun of trying to take a flat piece of plywood conform to a shape they'd like, you may appreciate this post. Leave a piece of plywood out in the weather and it will bow out of shape no problem. Attempting to make a piece of thin plywood conform to your desired shape, not so simple!


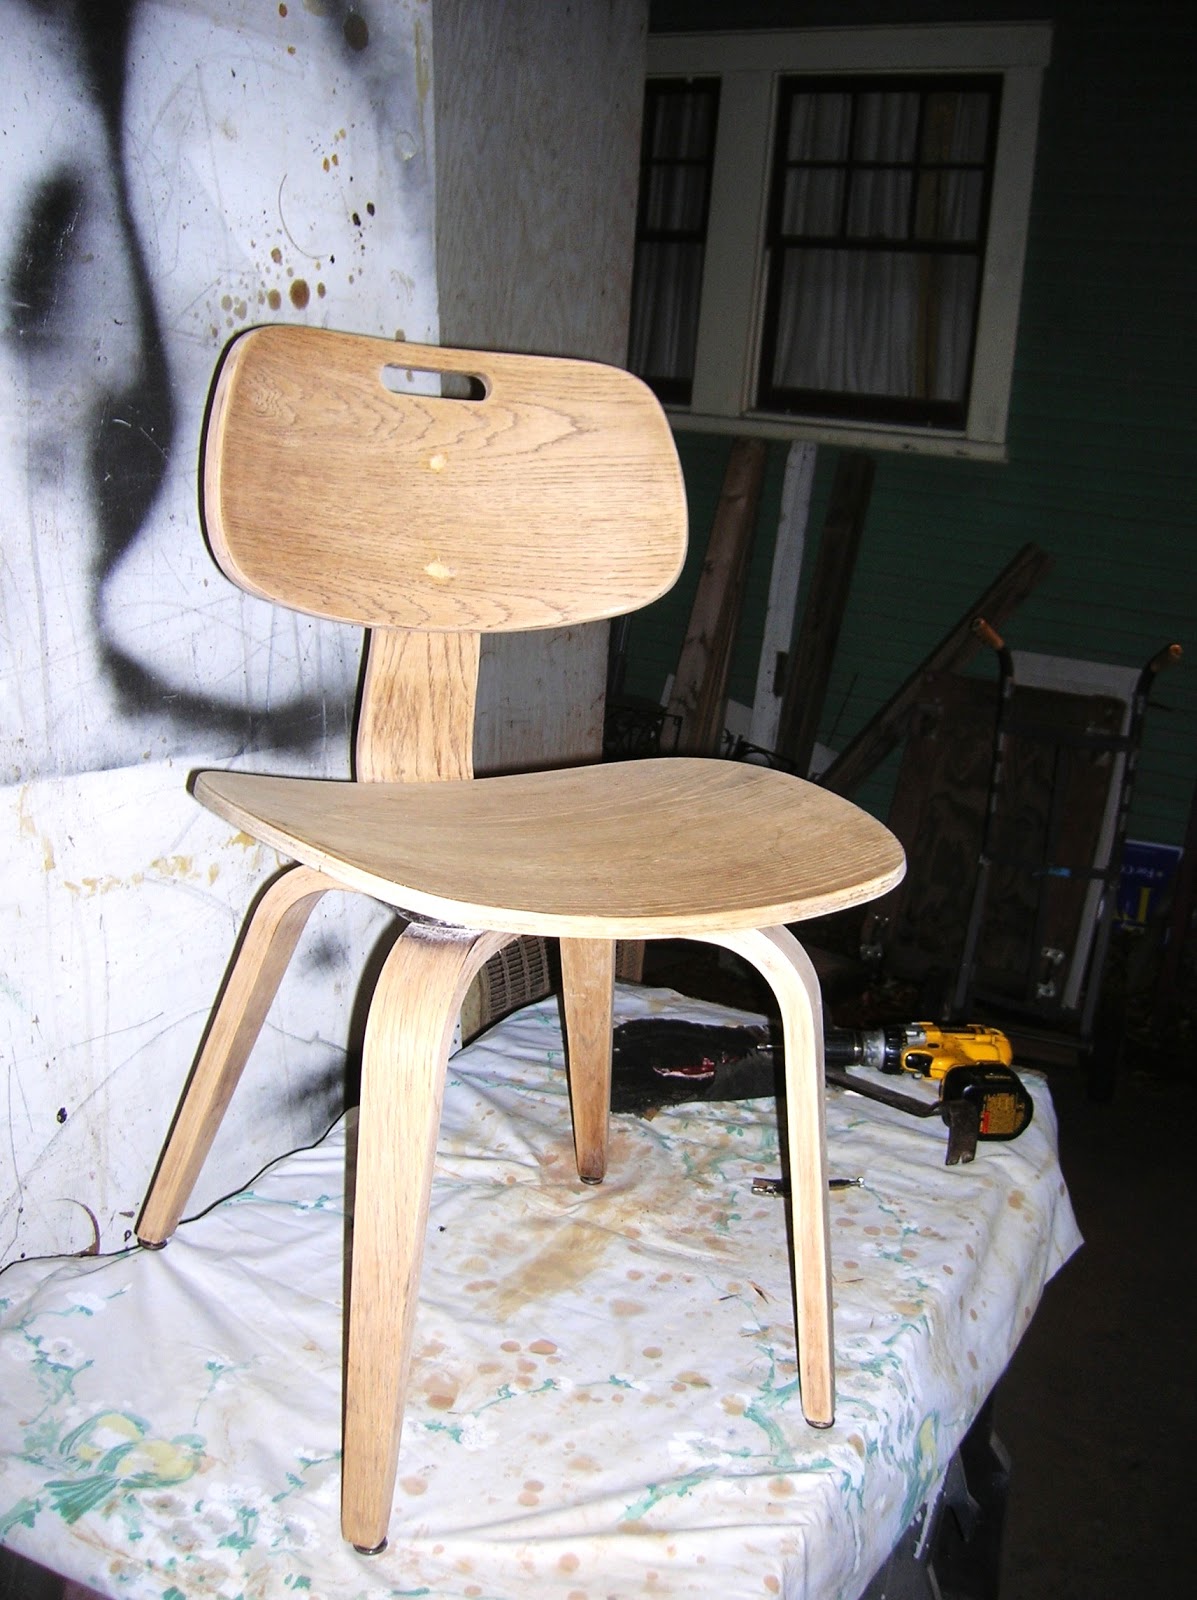
I needed the plywood inside the backs to reupholster these chair backs as they didn't come with the chairs. No problem! I would just cut some new pieces and flex them into shape...Well maybe not so easy...
After wetting just one side of the thin plywood and trying to pin down to the backs with some short screws and the original fasteners it turned out to be less than successful. The plywood was somewhat compliant, but no matter how many attempts I made I couldn't get the fabric around the inside curve around the hand hole. Status: Fail!
Back to the big box and found some ply underlayment that was just a bit thinner. Recut and soaked the entire pieces for a few hour sans the cutout for the hand hold. Same regiment for pinning it down but let it dry for 3 days before releasing these from their bondage. Much better results! And although not original to the pieces, they turned out pretty well!


Rehabbing vintage MCM furniture is always a constant learning curve and the frustration is just part of the fun! I would have preferred to put these back into original condition with the hand holes and upholstery just as originally intended but with my chosen fabric, this was just not going to happen! Here's how the set looks in the store and ready for a new owner! I think they can probably live with it in it's current condition!


I recently refinished the left over pieces of Pearsall I had come in and they turned out great. Much better in the original walnut frames than the black they had come to me in.
I will post some before and after soon, but the cocktail table found a new home the day after I refinished and I just put the 916-CC captains chair on the floor today and it may not be around too long either!
Thanks for taking the time to take a look! You are more than welcome to follow along on a regular basis and feel free to like us on our Facebook https://www.facebook.com/#!/pages/A-Modern-Line/148433368524352 page for new arrivals into our store. Yes, you can friend us as well!


Sunday, March 17, 2013

Some love and rehab for some Thonet chairs (very Eames DCW inspired) and the finished product on the Pearsall chair and ottoman!

Just a quick update on the Adrian Pearsall chair and ottoman that's now available in the store. Yup, it turned out pretty swell even in the somewhat neutral oatmeal fabric I chose!


I had someone approach me about a set of 4 Thonet chairs and a table that they had already spent a bunch of time attempting to rehab. The laminate top table was manufactured here locally and although the top was a laminate was high quality and in pretty great shape.
The Thonet chairs originally had a padded back and seat and I think the sellers intention was to just refinish the bent plywood and try to redo sans the upholstery. Here is how this "project" came to me!


I loved the DCW lines of the chairs and the quality of the constuction even though they weren't Eames. We agreed on a price for the set and I was determined to take these all the way down to the "bones". Total rehab was in order. The seller had already spent a bunch of time with some citrus stripper to get the old finish off as well as who knows how much time sanding and they still needed lots of attention!


Here's the table and chairs before stain. Table has not been prepped as yet but chairs are ready for stain. And here we are ready for a nice satin lacquer as soon as they dry down.


Now that the frames are pretty much ready to go it's time to fugure out how to replicate the padded backs. I've seen some examples of how these should look on some of the auction sites. With the holes in the backs they definetely need the padded backs replaced.
More to come soon on my solution to this challenge!


Thursday, February 28, 2013

Tired of hearing about the Pearsall dining set I just finished? Wait, don't answer yet, here's more Pearsall!

The new Pearsall dining set is catching lots of looks at the store and I doubt it's going to be hanging around too long, but the next project on the bench is almost as sweet and is turning out to be a lot less work in our rehab department!


These two pieces came to me from the same consignor as the previous dining set with the same stipulation, recovery costs were coming off the top of the sale price. Again, solid walnut original Pearsall 1209-C chair and 1211-O ottoman. These were both sans their original cushions and the original Pirelli webbing was either missing on the ottoman or in such poor condition on the chair it would need to be replaced.
On the bright side both pieces are very structurally sound. The downside was the wear on the arms of the chairs were totally through the finish and no amount of Howards was going to bring them back to life. The balance of the pieces looked great with a bit of cleaning up and I decided to just refinish the tops of the arms and keep my fingers crossed for a match!


As these were slightly lighter shades of walnut in this chair, I used a Minwax golden oak over the sanded arm tops and it looked pretty good before lacquering. It still popped the walnut without being too dark and seemed to match the original finish really well. This chair was a bit higher gloss than the normal satin I would use on refinished pieces, so I started with a semi-gloss lacquer for the first couple of coats and topped in off with a satin just to knock down the gloss just a bit. Bingo!


Here's our "patient" under the sheets to avoid contanimation of the balance of the piece!
 
When I stopped by my upholstery wholesale place Harris and Stearns (they've been in business longer than I've been here in Tampa and maybe longer than I've been alive) here in town to look into replacing the original Pirelli rubber webbing, they advised that someone had bought them out of the last they had in stock and due to cost, they hadn't planned on replacing at $200 a roll. Ouch!
They advised they could order this for me if needed so I decided to take a look online. At $3 dollars a linear foot, I decided the newer nylon black webbing would work just as well and last a lot longer.  It's not like you can actually see this in action! I try and be a purist as best as possible, however!


Here's how we stand presently! Frames look pretty stunning and have been dropped off at my upholstery professionals along with foam and fabric to complete this rehab. If I could only brush up on my upholtery skills it would save me a bunch of money but this isn't a trade you learn overnight and Mike and Anne always do a really nice job on every piece I've given them for a fair price.
Hope to get some finished pics up in the next week or so.
 
Thanks for following along and don't forget to give us a "like" on Facebook if you are so inclined!


Friday, February 22, 2013

Just a quick post on the finished Adrian Pearsall set!

I finally finished the rahabilitation on the Pearsall set and what a stunningly gorgeous set it is!
Although this was a lot bigger challenge than I anticipated, I'm not complaining after seeing it come to fruition.
 
 
Since this was accepted as a consignment, I was determined to keep track of my time and materials in the redo. Unfortunately, after about two weeks into this working on it from 2-4 hours a day almost every single day, I gave up. I would guesstimate I have somewhere around 65-80 hours in the finished product. What a marathon!


The nubby oatmeal sofa/bed that resided just inside the front door sold over the weekend which freed up space for this in it's place. And another new aquistion of a pair of 60's splay legged 30 inch bookcases with sliding glass doors paired up really nicely with the table and chairs. Our Rya rug, though a bit smallish, looks great with all these pieces well!
We are ready for the weekend to commence!


Wednesday, February 13, 2013

Still on the hunt for the perfect fabric for the Adrian Pearsall dining set!

Frustration has set in looking for just the right fabric for our Pearsall dining set! All of our current inventory, which is pretty extensive, was either just not right or there wasn't enough yardage.
I spent hours Tuesday looking through all our local fabric dealers and had picked up a chenille that looked like it may work in desperation. Maybe for another project, but not this one!
The table as well as the chair frames are done and ready. I just need the correct clothes for our new princess!


It's been a bit of a long slow slog to get these frames up to speed but they look great!
I originally thought I'd have to replace all the foam on the seat cushions, but although the base rubber foam is pretty hard and dried there is another foam over this from the last recovery and they seem quite comfortable as is and still look quite original to the set and I think I'll leave these alone as well as what may be the original padding on the backs. I will definetely add a bit of cotton batting to the mix to plump them up some...
 
 
The the new plugs for the chairs are ready to install and all the components for the seats and backs redo are in place. Just need the right complimentory fabric! I've got some bids out on some auctions that look like they may work without spending an arm and a leg. Hard to tell until we get to feel and see in person!
Hope to post the total make over soon!!